Epson 890 Bedienungsanleitung

Stöbern Sie online oder laden Sie Bedienungsanleitung nach Drucker Epson 890 herunter. Epson 890 User Manual Benutzerhandbuch

  • Herunterladen
  • Zu meinen Handbüchern hinzufügen
  • Drucken
  • Seite
    / 5
  • Inhaltsverzeichnis
  • LESEZEICHEN
  • Bewertet. / 5. Basierend auf Kundenbewertungen
Seitenansicht 0
870/890 CFS Assembly Instructions
Pre Assembled CFS with Auto Reset Chips
Rev 4/23/03
Below are the instructions for installing a pre-assembled CFS for an Epson 870 / 890 printer. On the pre-
assembled unit, the cartridges come full. You do not have to inject ink or vacuum fill the cartridges. The empty
tubes will fill with ink as you begin to use the system. Do not try to force or put any ink in the tubes.
Here is what you will need to do this installation…..
Alcohol or Alcohol swabs
Continuous Flow Cartridge set with empty tubes attached
MIS Short Bracket (1) and MIS Bridge Bracket (1)
MIS Ink Tray
Ruler or tape measure
Black Felt Marker and a pair of scissors.
Small thin screw driver, not phillips.
Get everything together in one place so you can do this all at the same time. It will take about 15 minutes of your
time. It is not difficult if you have the right tools. Of course the second time you do it , it will be a lot easier.
Validate Your Printer Performance and Set Up USB Cable –
1. Before you begin installing the CFS, make sure your printer is working perfectly. If you don’t do this and you
have problems later on, you will never know if it is the CFS or your printer. So, DO NOT SKIP THIS STEP.
Use your Epson cartridges, and check your nozzle pattern, if it looks good, then print 5 copies of the
PURGE6.TIF image. The prints must not have any banding or skipping on them. Make sure you print using
360 DPI, PLAIN PAPER settings. If either the purge6 prints or your nozzle pattern tests have problems, then
run cleaning cycles in groups of 3. Print a copy of purge6 after 3 cleanings. Always check your nozzles
before and after each cleaning. If you can not get a perfect print or nozzle pattern, then DO NOT PROCEED
WITH THE INSTALLATION OF YOUR CFS.
Install Tube Bracket -
2. Lift or remove the printer cover. Clean the housing surface where the bracket will attach with alcohol. Clean
both bottom and top of housing. Wipe dry with a paper towel or clean cloth. The tube clip on the bracket
should be on the right side. Remove the paper backing from the foam tape and place the bracket 4 3/8” from
the inside edge of the printer housing, as shown below.
Attach the small tube bracket later, after the cartridges are installed.
Seitenansicht 0
1 2 3 4 5

Inhaltsverzeichnis

Seite 1

870/890 CFS Assembly Instructions Pre Assembled CFS with Auto Reset Chips

Seite 2

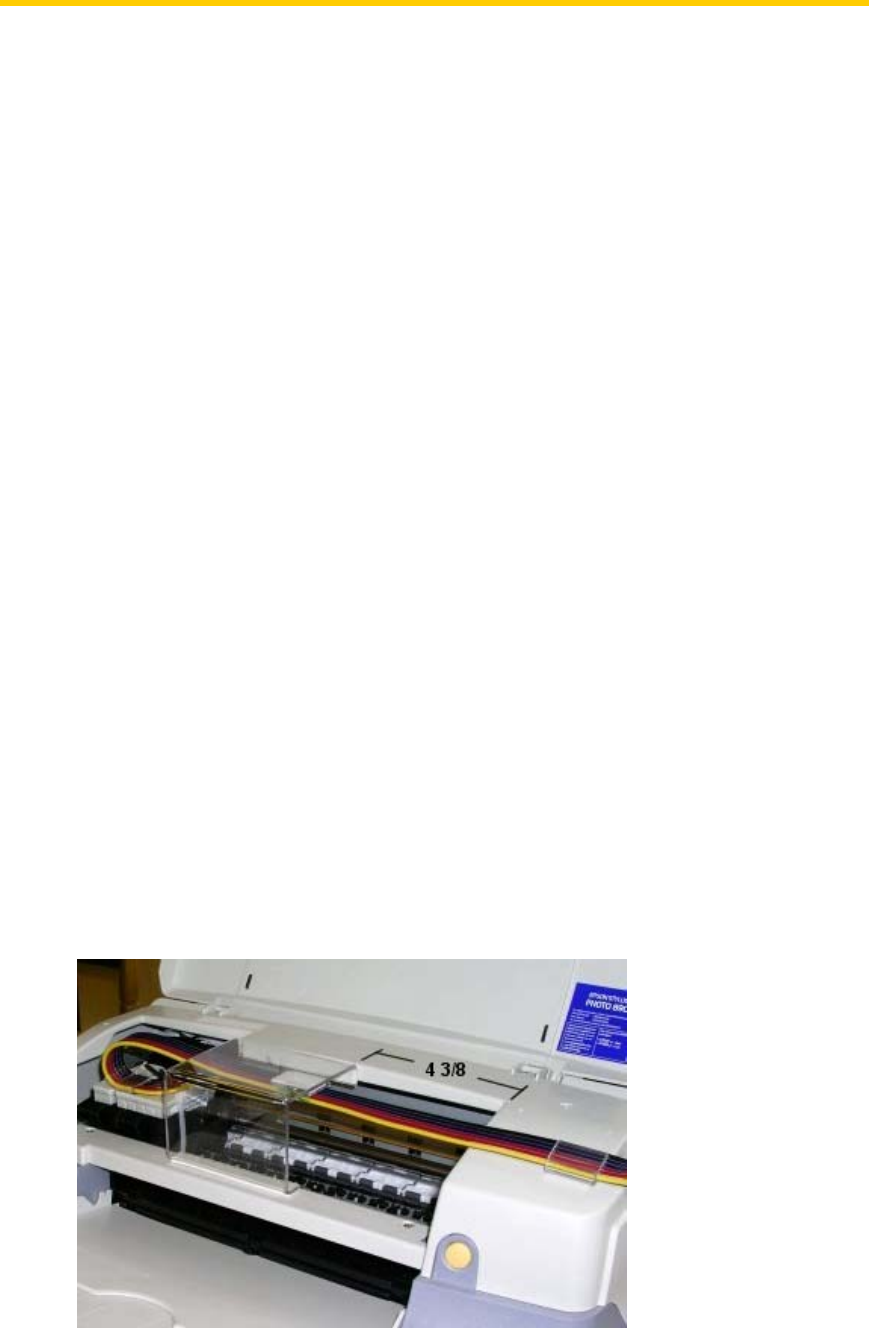
Remove Cartridge Hold Down Clamps – 3. Remove both the black clamp and the color clamp. With the power on and with the printer idle, push the Ora

Seite 3

tube clip so the tubes don’t touch the bottom of the printer, and so the carts can reach far left and right with out the tubes stopping the motion.

Seite 4

Understanding the Auto Reset Chips - 10. Your CFS cartridges have Auto Reset chips on them. Each time the printer power is turned on the chips wil

Seite 5

the CFS troubleshooting page on the website. Keep your original Epson cartridges, they are needed for this procedure. They can be used several time

Kommentare zu diesen Handbüchern

Keine Kommentare